
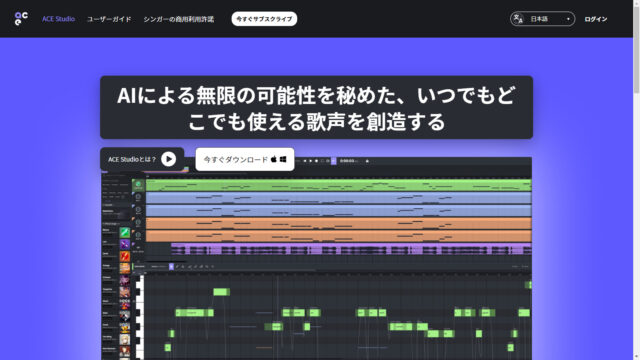
このページでは、「ACE Studio」での発音・声質の編集方法について紹介します。
発音の編集
子音の長さの編集
・子音の長さの編集前
・子音の長さの編集後
音素の編集
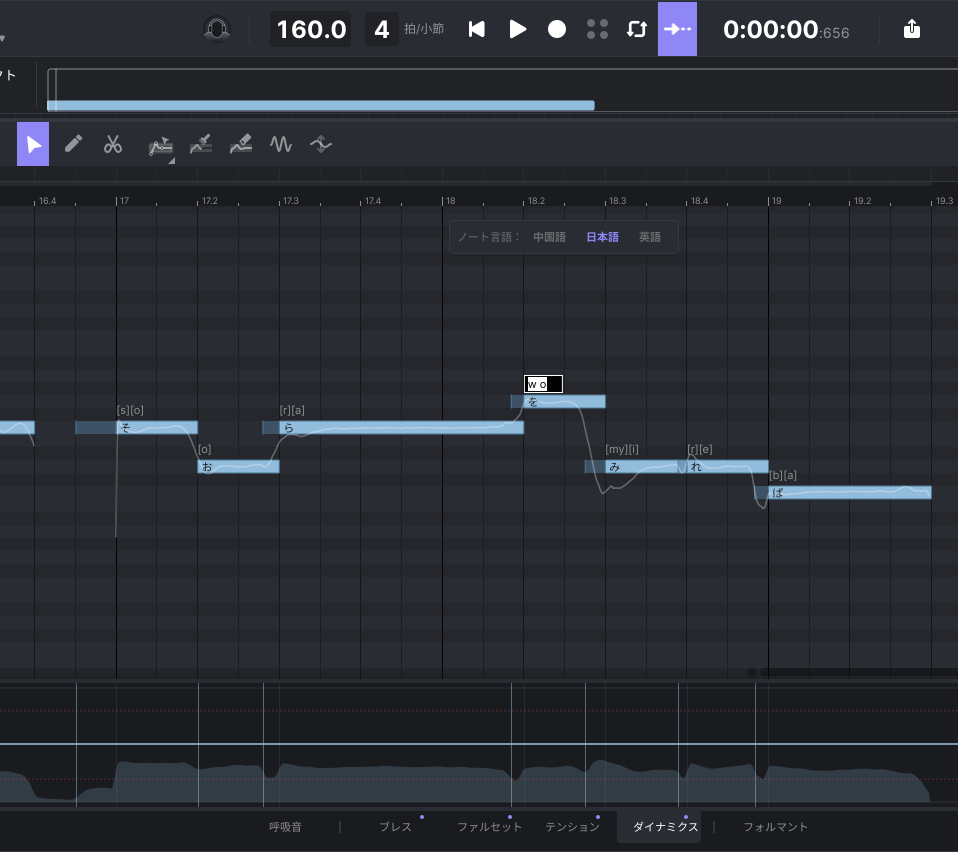
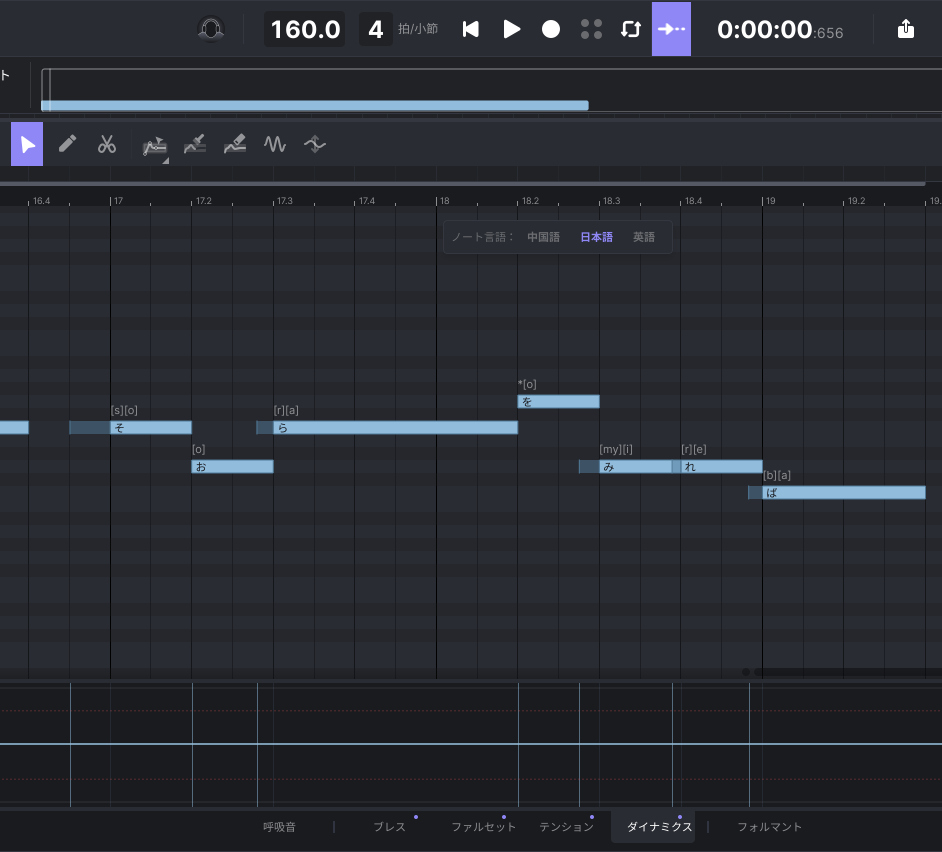
・ダブルクリック前
・ダブルクリック後
・音素編集中

・音素編集後
母音の脱落
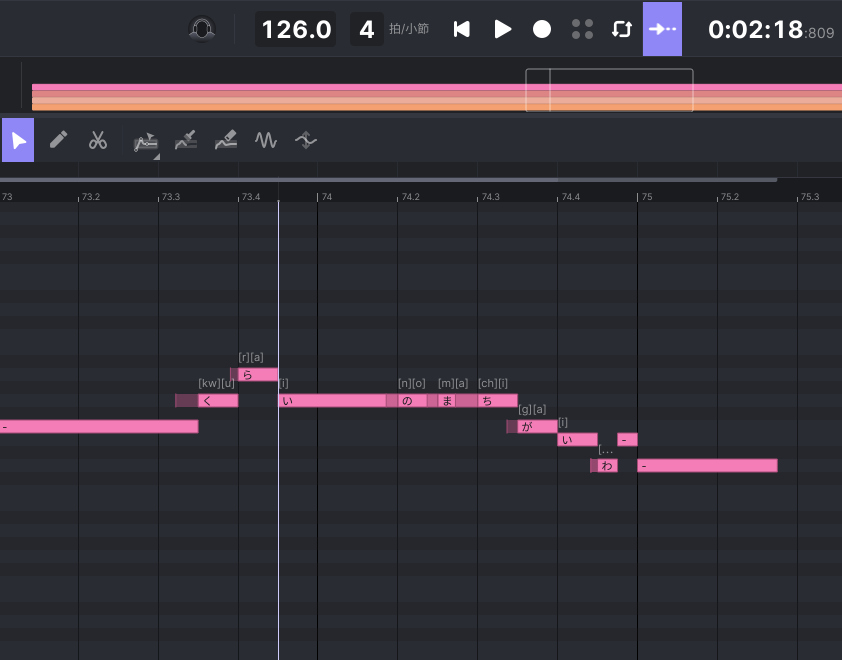
- 「ち」の直後のノート「が」の子音を限界まで引き伸ばします。
・子音引き伸ばし前
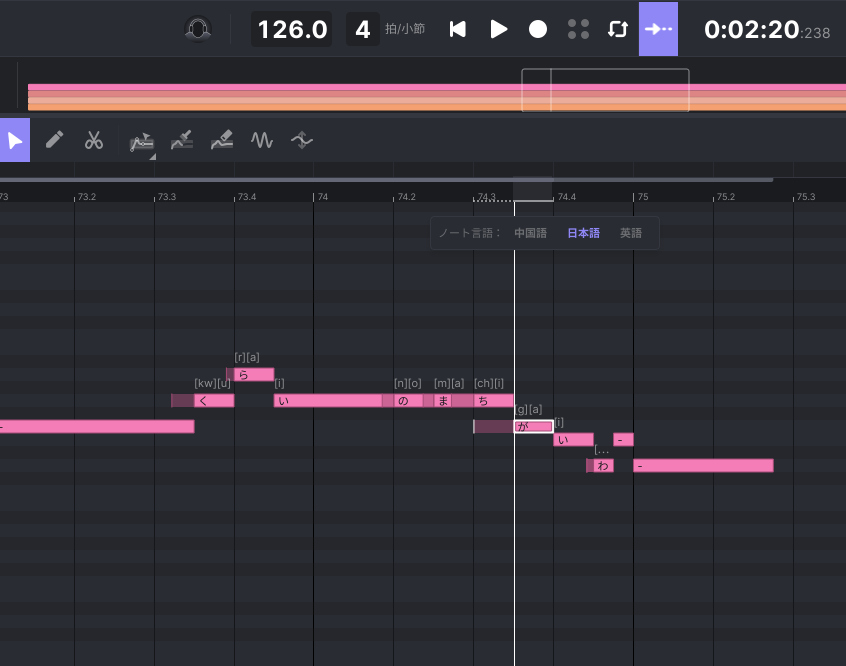
・子音引き伸ばし後
- ACE Studioのノートには母音が一つ含まれている必要があるため、まずは「ち」のノートを削除します。
・削除前
・削除後
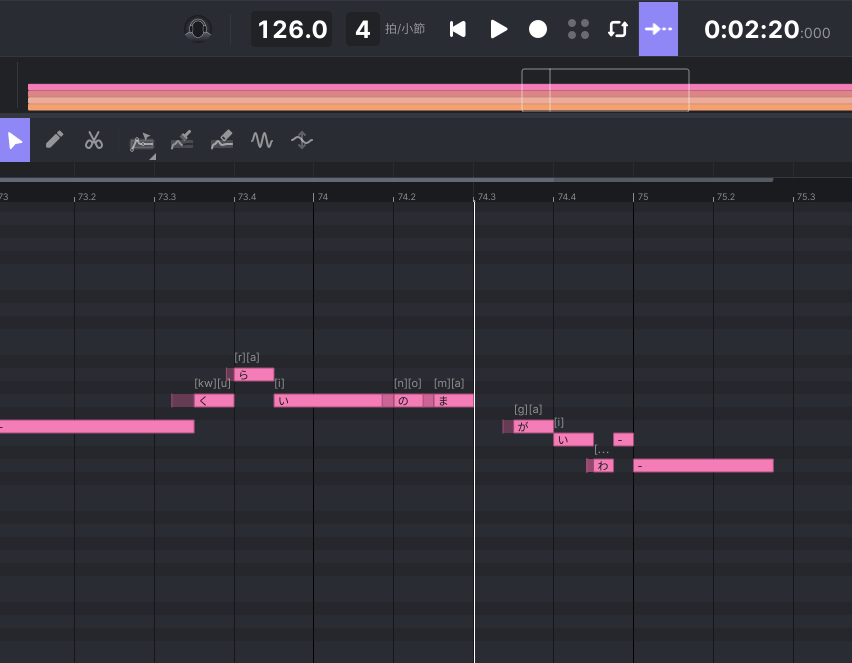
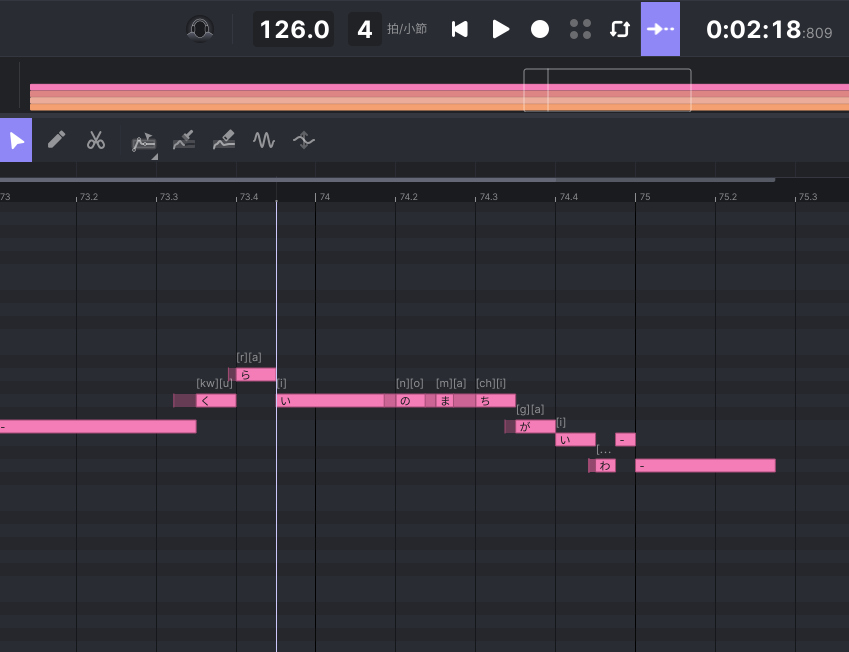
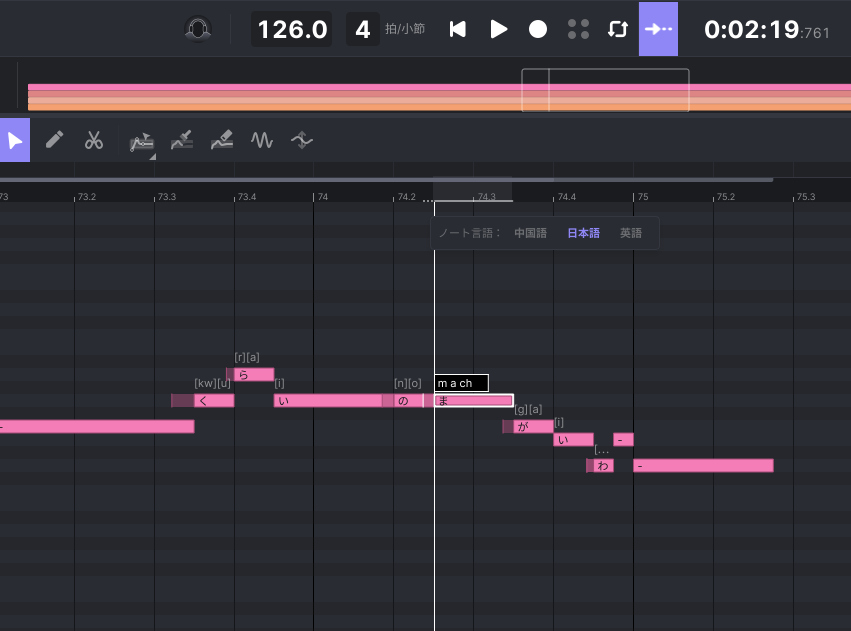
- 「ま」のノートを引き伸ばします。
・引き伸ばし前

・引き伸ばし後

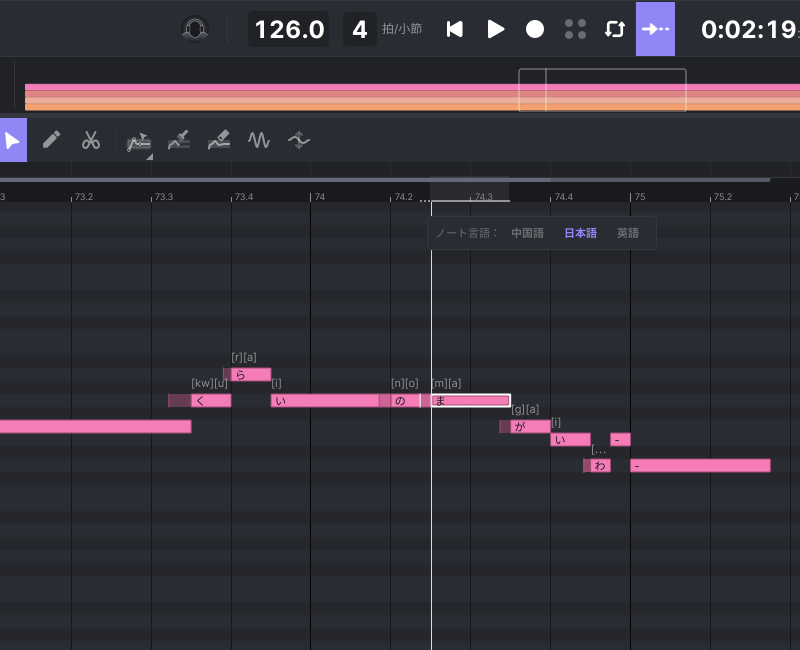
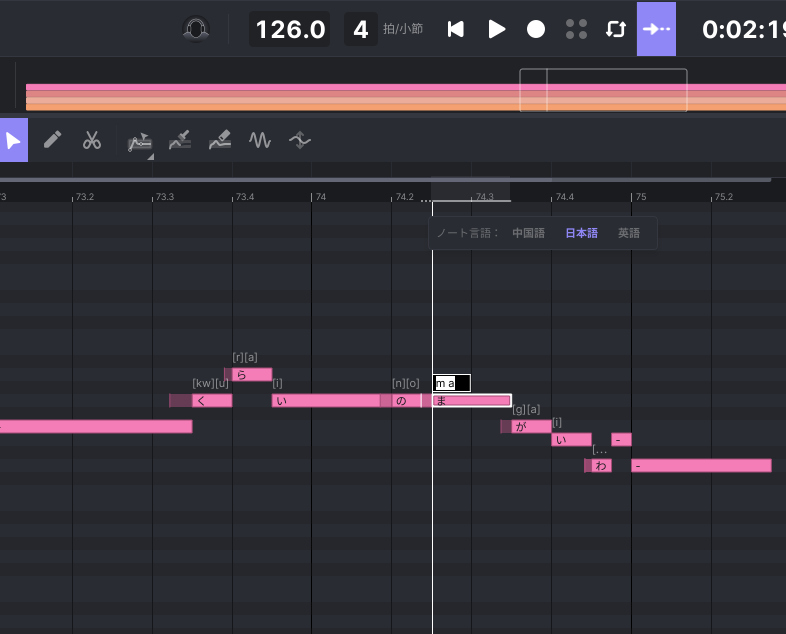
- 「ま」のノートの音素のシーケンスをダブルクリックします。
・ダブルクリック前
・ダブルクリック後

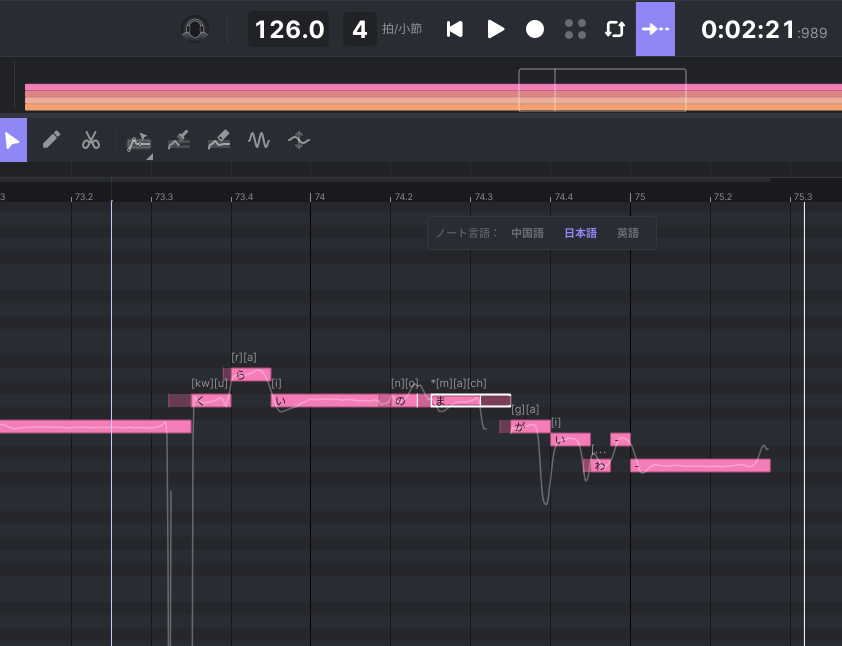
- 「ち」の子音である「ch」を入力します。音素は半角スペースで一区切りとなります。
・「ch」入力前
・「ch」入力後
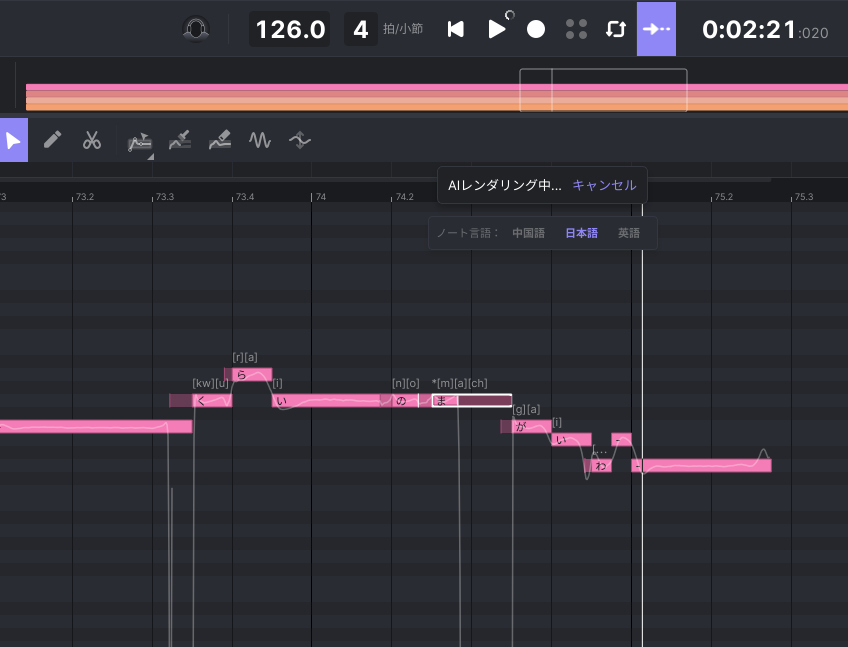
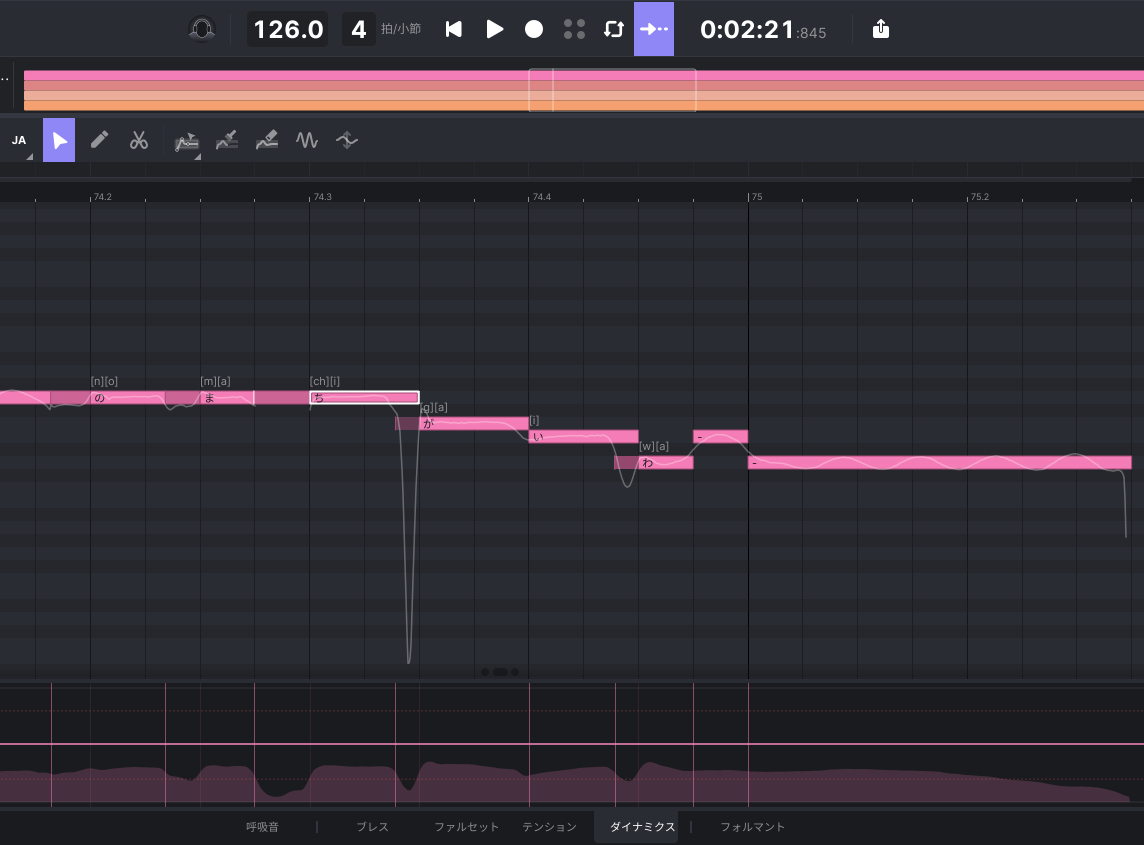
- 必要に応じて(好みに応じて)子音「ch」の長さを変更します。
・変更前
・変更後
JUXERの方からアドバイスを頂きました。
ACE Studioでは母音の音素として、[a][i][u][e][o]以外に[ax][ix][ux][ex][ox]が用意されています。長いノートでは曖昧母音のように聞こえるのですが、短いノートで使うと音色が暗く音の減退も速いので、ギリギリ母音が聞こえるか聞こえないかの発音を狙えます。
また、音素には依りますが、[ax][ix][ux][ex][ox]を使った時の方が子音が強く聞こえる場合もあり、母音を脱落させた際により明瞭に子音を聞かせたい場合の選択肢として使えそうです。
- 「ち」のノートの音素のシーケンスをダブルクリックします。
・ダブルクリック前
・ダブルクリック後
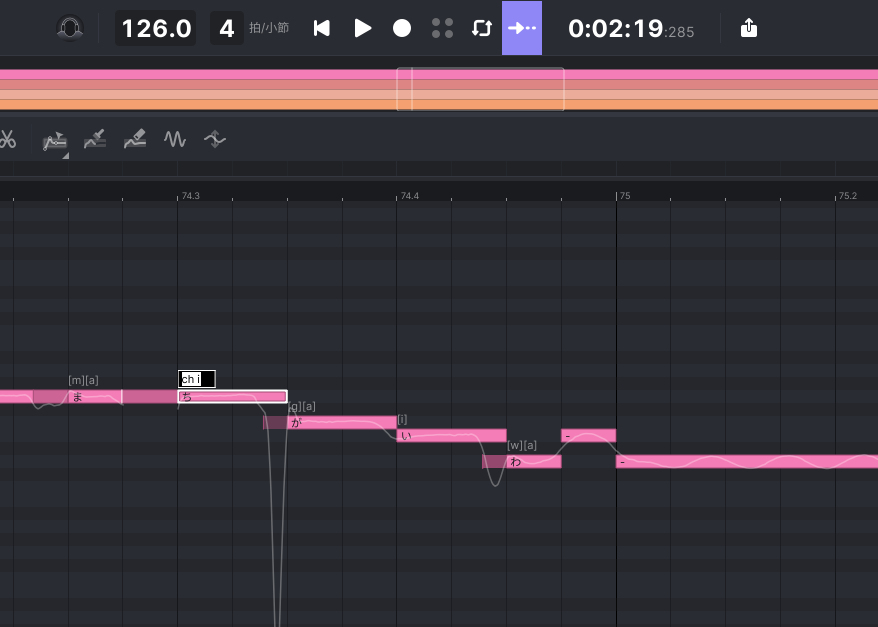
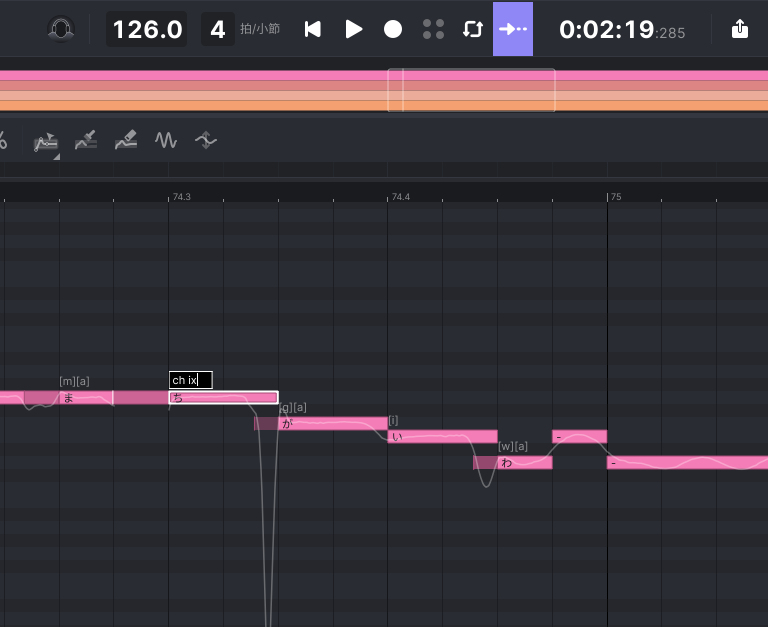
- 「ち」の母音である「i」を「ix」に置き換えます。
・置き換え前
・置き換え後
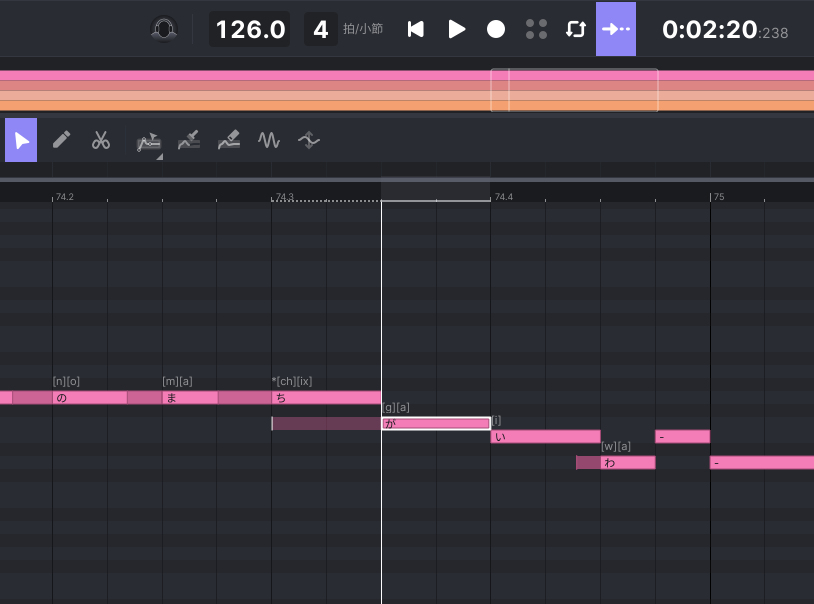
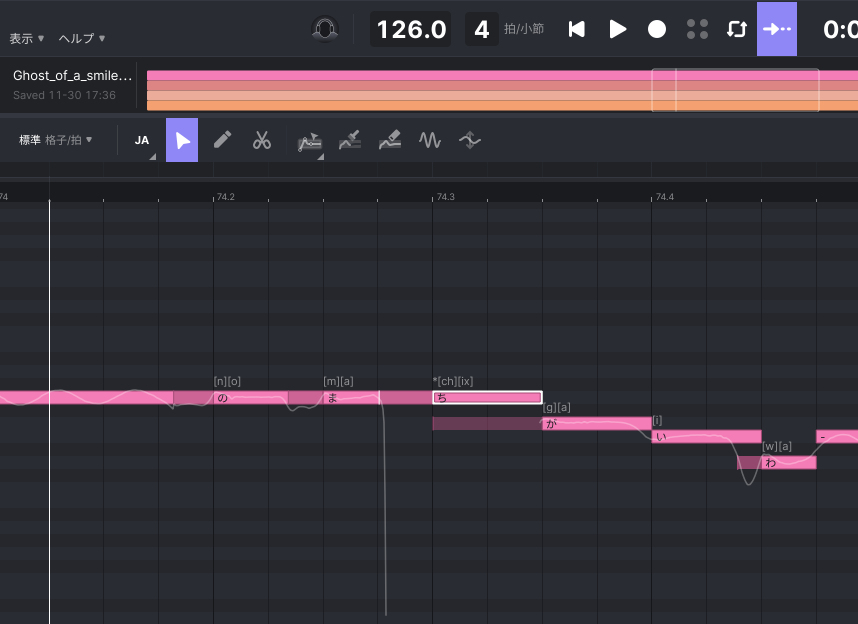
- 「が」の子音を限界まで引き伸ばします。
・引き伸ばし前
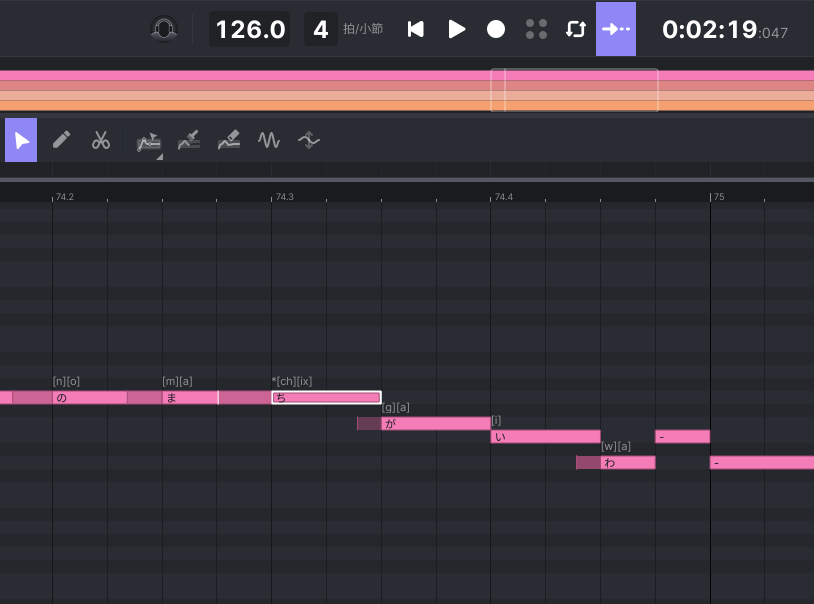
・引き伸ばし後
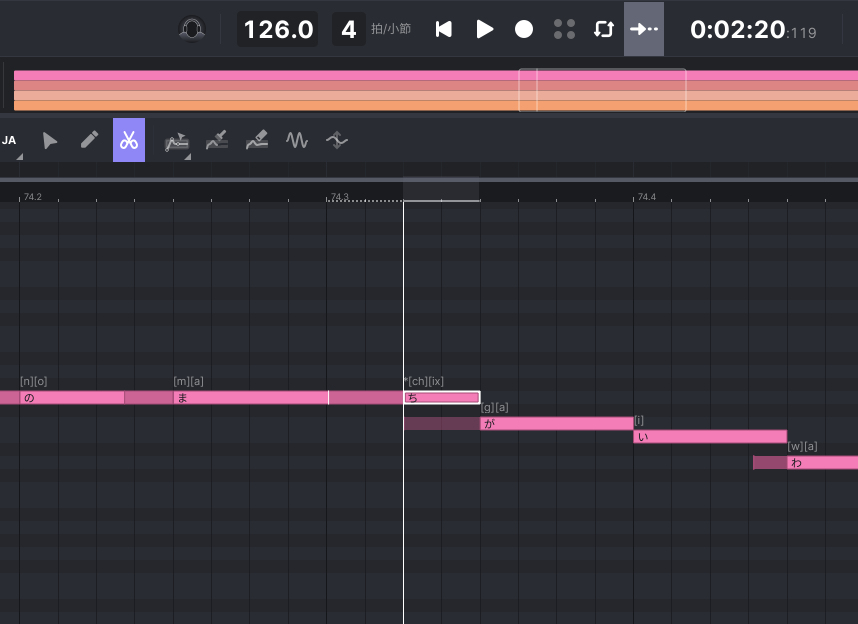
- 必要に応じて(好みに応じて)「ち」のノート(母音を脱落させたいノート)を短くします。
・変更前
・変更後

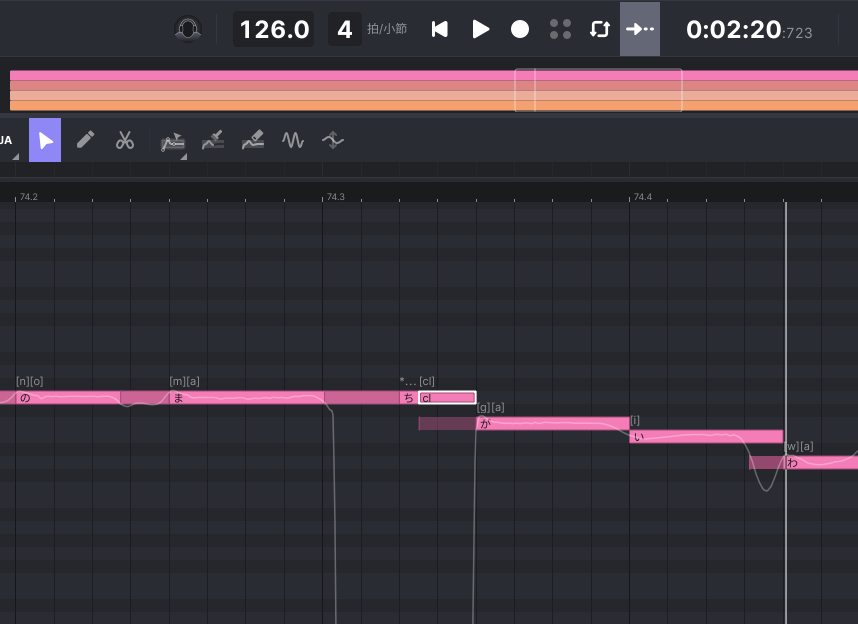
- 今回のように「ち」のノート(母音を脱落させたいノート)が短い場合は、「ち」と「が」の間に「cl」(小さい「っ」の発音記号)を入れることで、母音を発音させないこともできます。
・「cl」入力前
・「cl」入力後
声質の編集
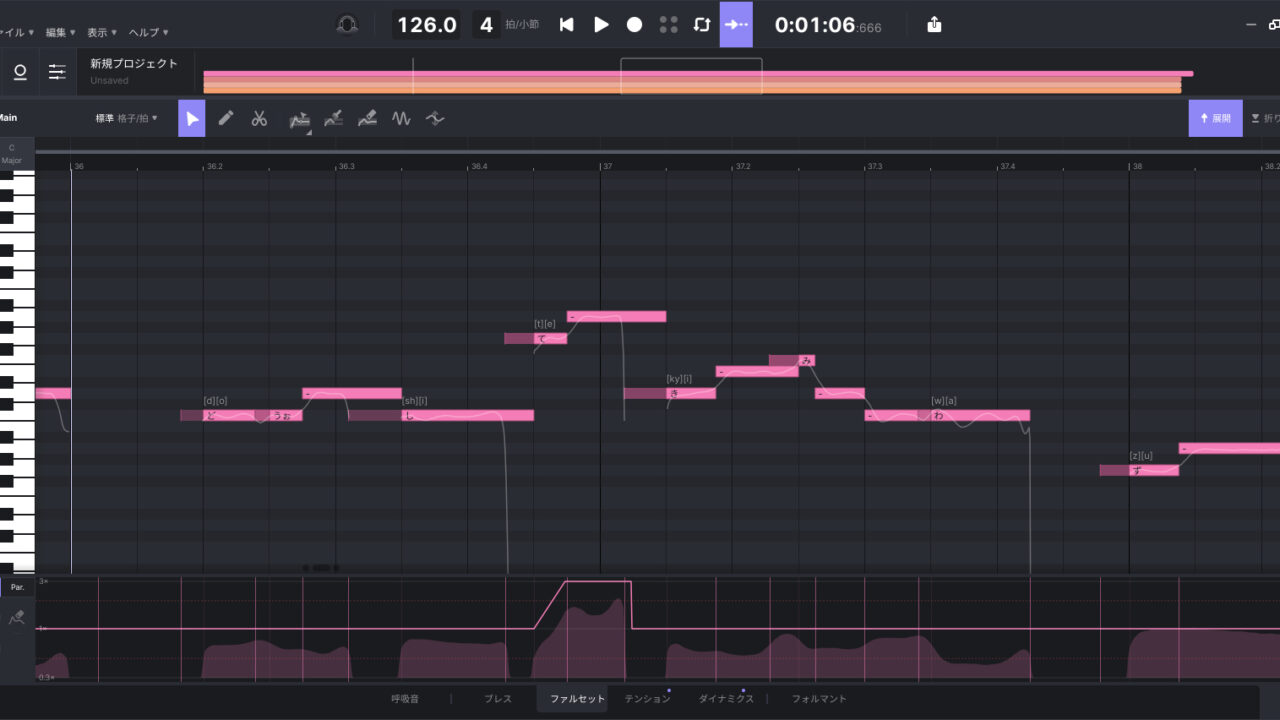
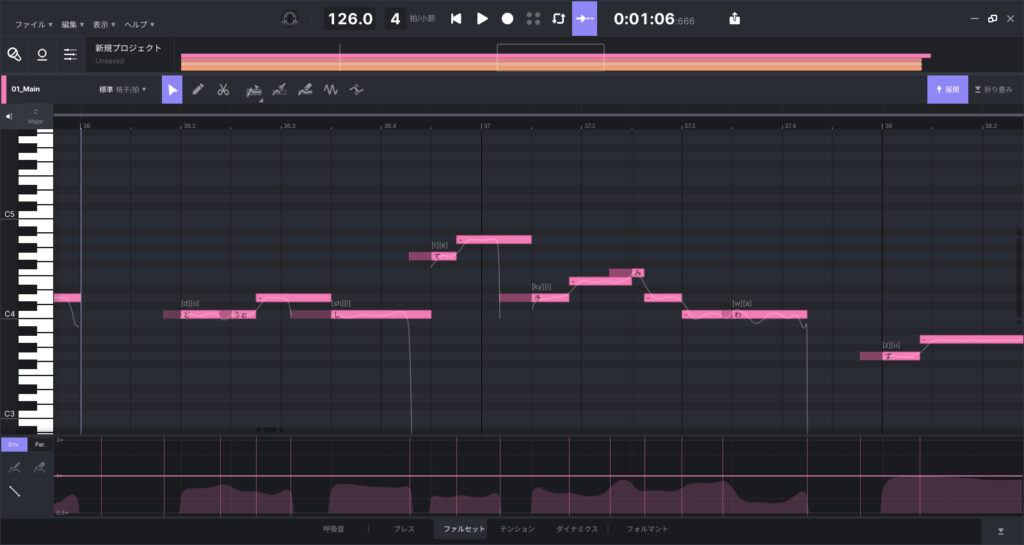
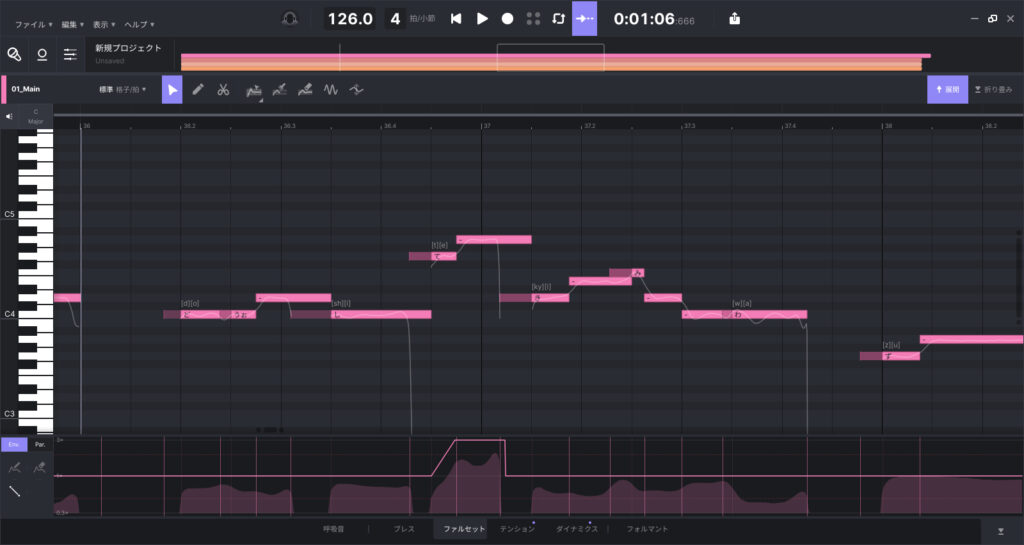
ファルセット
- クリップビュー下段のAIパラメータバーの中にある「ファルセット」タブをクリックします。

- 左端にある描画ツールは「直線」を選びます。フリーハンドがお好みの場合はそのままで問題ありません。
・直線選択前

・直線選択後
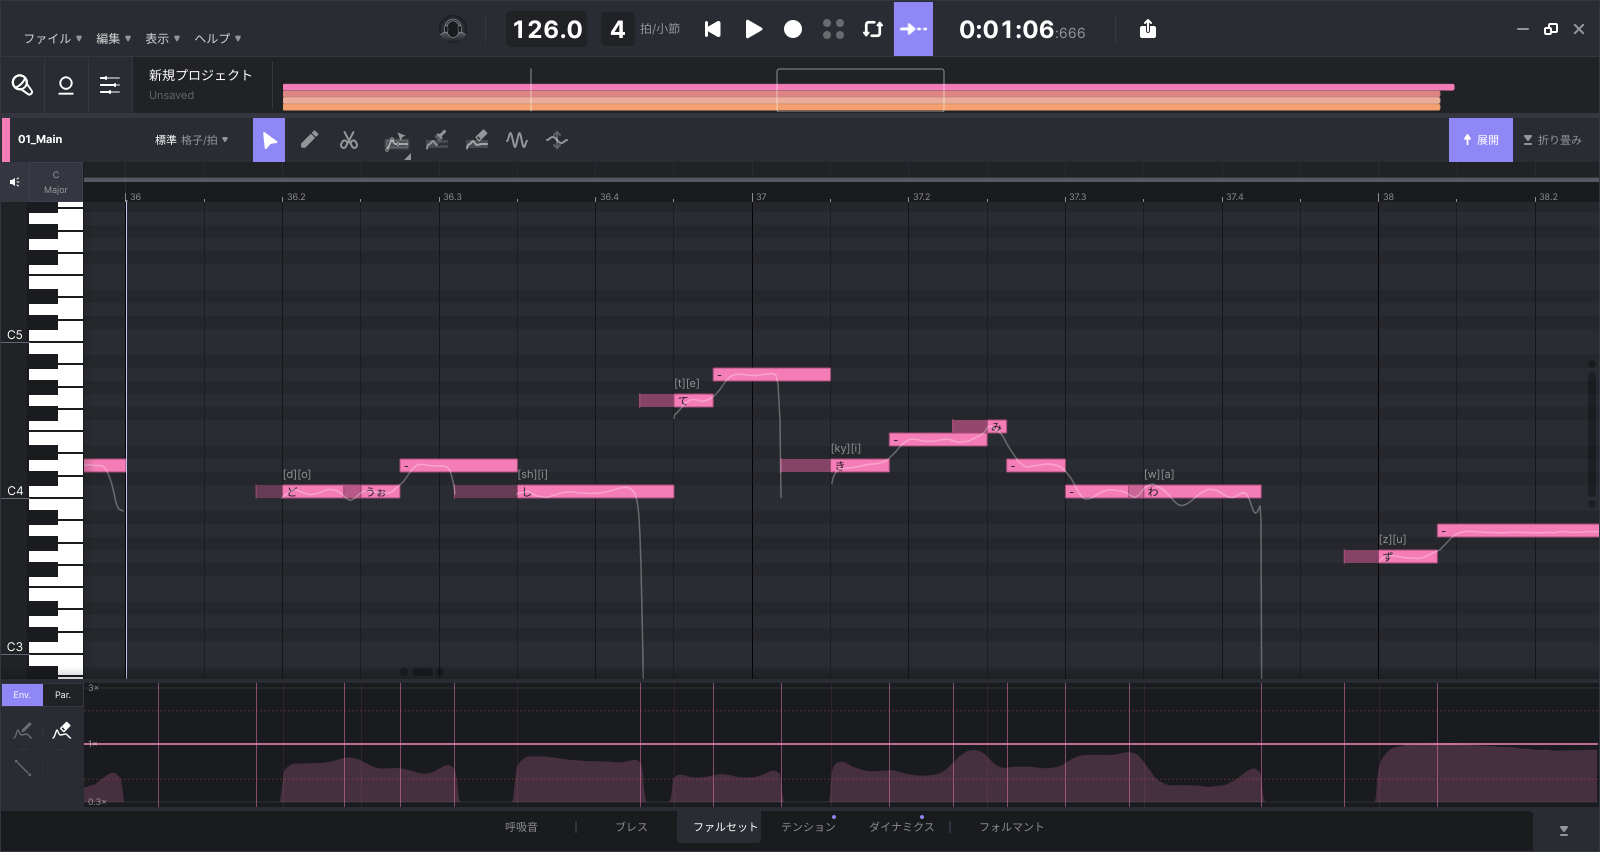
- 2023年11月現在は、子音と母音の境界部分に極端なAIパラメータのエンベロープを書くとぼやけた発音になってしまうため、母音の始点から緩やかに数値を上げていく書き方がオススメです。
- エンベロープを削除したい場合は、左端にある描画ツールの「消しゴム」を選択し、該当範囲をドラッグします。
・削除前

・削除後
ブレス

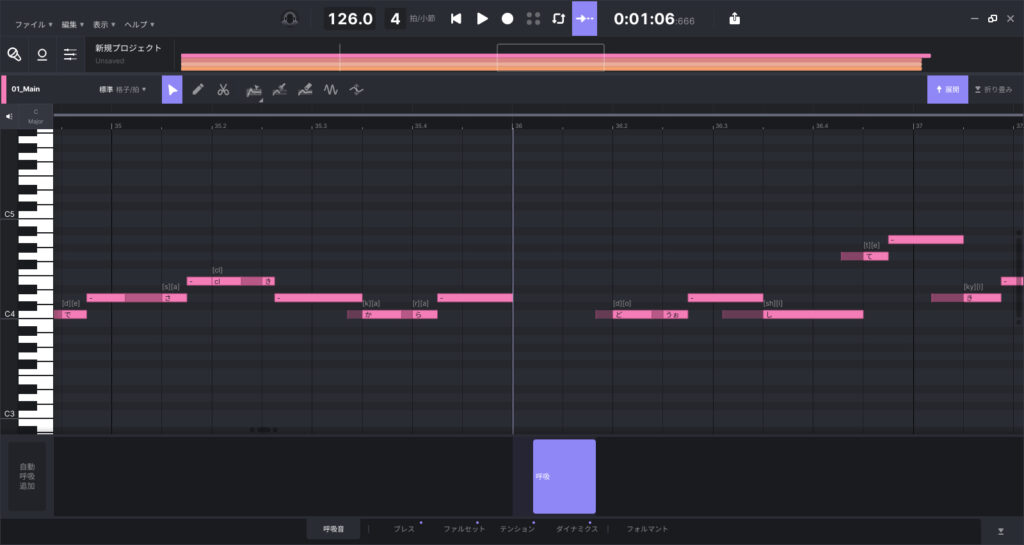
呼吸音の追加
- クリップビュー下段のAIパラメータバーの中にある「呼吸音」タブをクリックします。
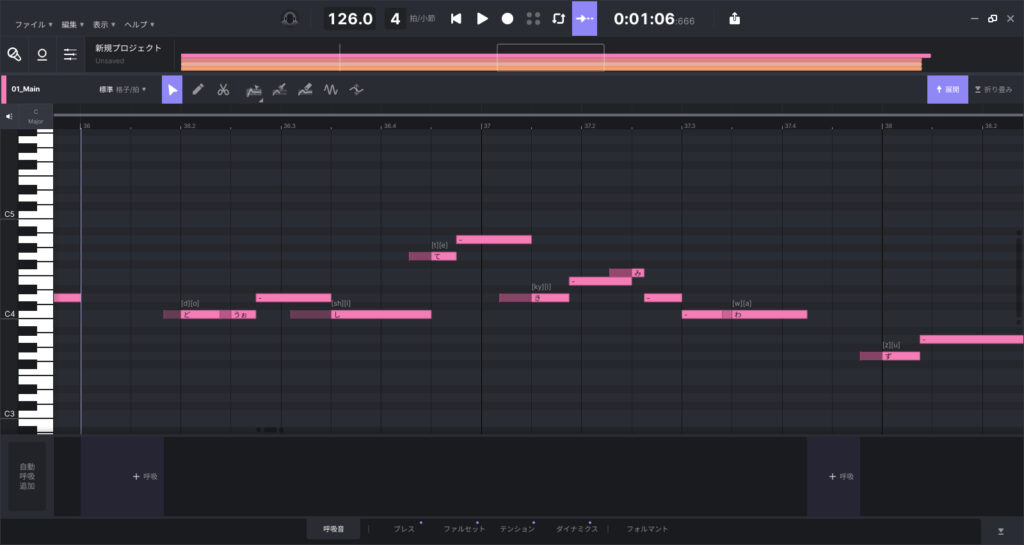
- AIパラメータバーの中にある「+呼吸」をクリックします。
・呼吸追加前
・呼吸追加後

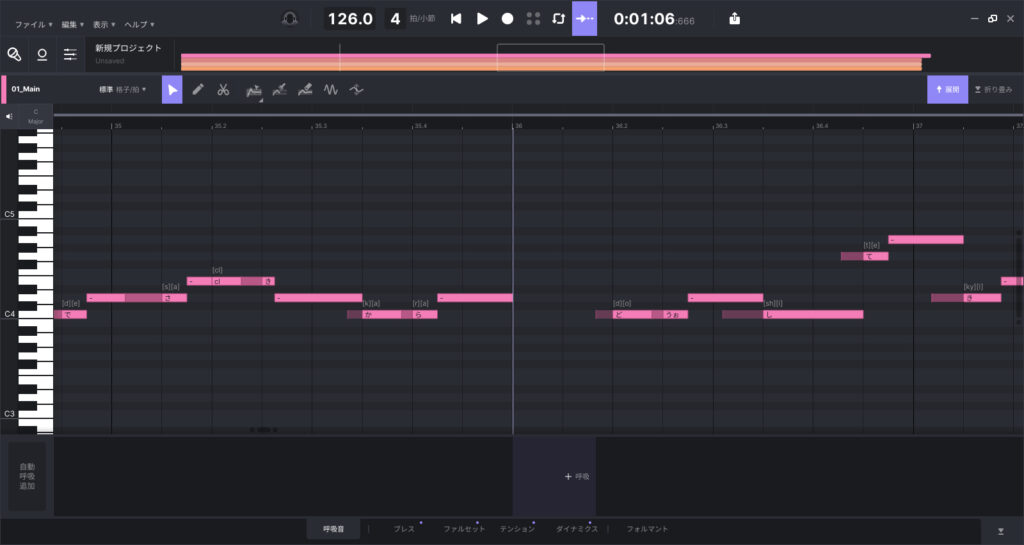
- 呼吸音の長さは左の境界線をドラッグして調節できます。
・長さ調節前
・長さ調節後

- 呼吸音を削除したい場合は、「呼吸」が選択された状態で[Delete]キーまたはで[右クリック]>[削除 Delete]で削除できます。


「ノート矢印」または「ノート鉛筆」が有効な状態で、子音の左の境界線をドラッグします。